Ichigo Gate
Inthis page I will be focusing on making the Ichigo Gate! This should be pretty interesting as I have not worked with Maya for qute some time.
I started off by adding my refferenc eimage which then I added my character from the Ichigo zip file to use as refference. Doing this will allow me to see how much bigger I would need to scale my gate.

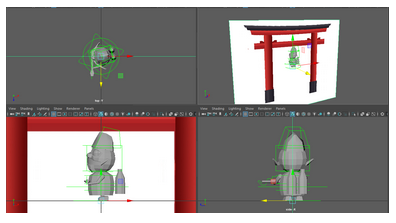
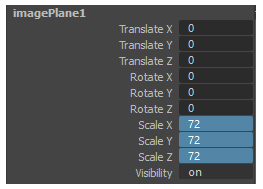
I re-scaled my image refferenc ein order to make it be bigger than my character so it will fit into the environment. I changed the scales: X, Y and Z, so it can be a nice round number.
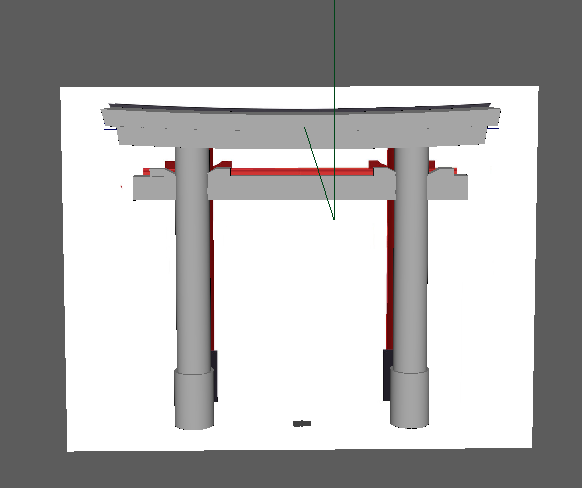
I started moving the gate to allign with the floor and I removed the character since I have no more use for it, anymore; as he was only used for measurement.
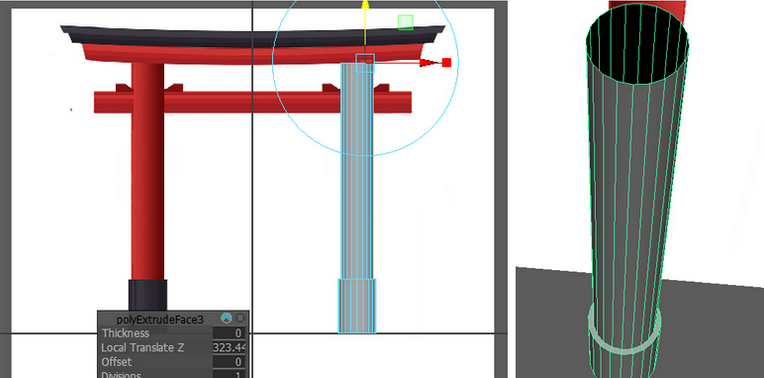
I slowly started making the first pillar using "Poly Modelling" using the cylinder object. I made sure that it correctly alligns to the 3rd world floor. I checked this by viewing my different angles. Which then I selected every face of the cylinder andI had to make sure that it did not select other things meanwhile because that would mess up when I would change the height of the cylinder. After I selected them I went into "Edit Mesh" and use the function "Extrude", which can also be CTROL + E. Following that, I can change the "Offset" to 4.
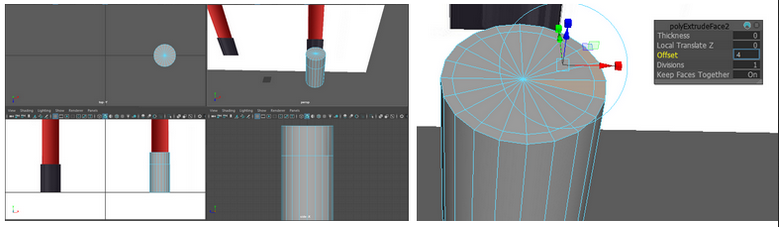
After manipulating the offset I increased the height to match my refference image. After that I selected each faceof the cylinder and deleted it. I then used the command CTROL + D to duplicate my pillar and changed the translate X to just adding a negative. This automatically just moved the pillar in the exact position where it should be.
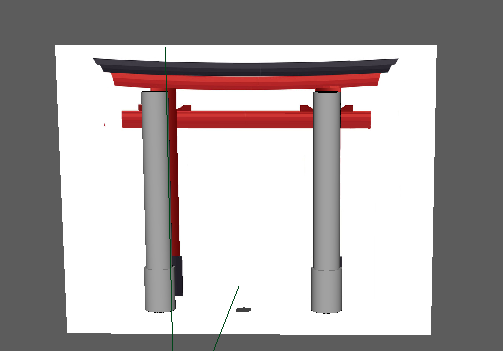
Making the wood log was very easy. All i did was make a longated cube and make sure the size fits all around and put it in place.
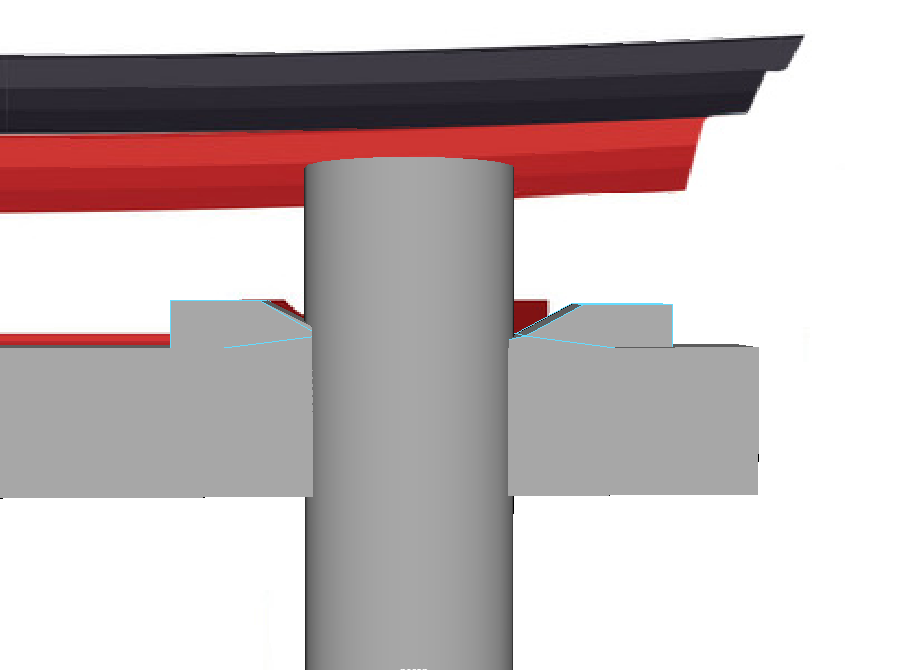
I started working on the bar at the top. After I made the little things on top of it using a cube and manipulating it's size. In order to add the curvature of the wood I will need to make a cylinder (that looks like a barrel) and to put them together and use it as a cookie cutter. After that I used the multi-cut function to cut it in half and add more faces to the block of wood.
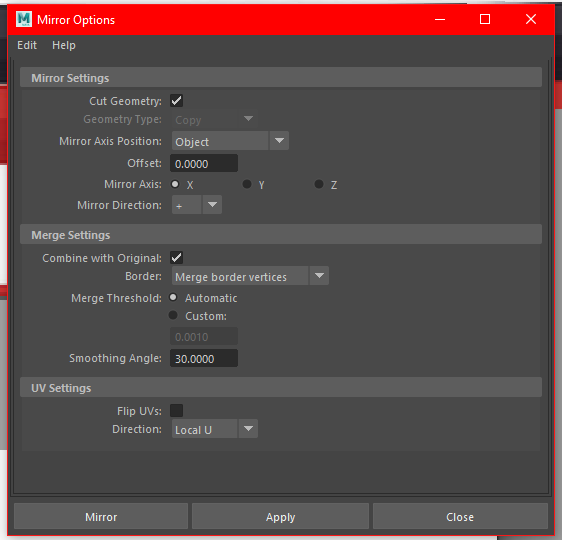
Using the mirror tool I was able to create the 2nd wood block and have that little dent. However, I cannot seem to make it work on the left side as there is a weird block I cannot get rid of.
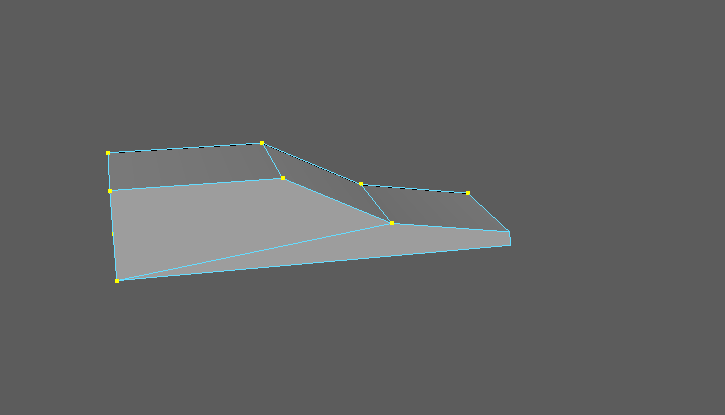
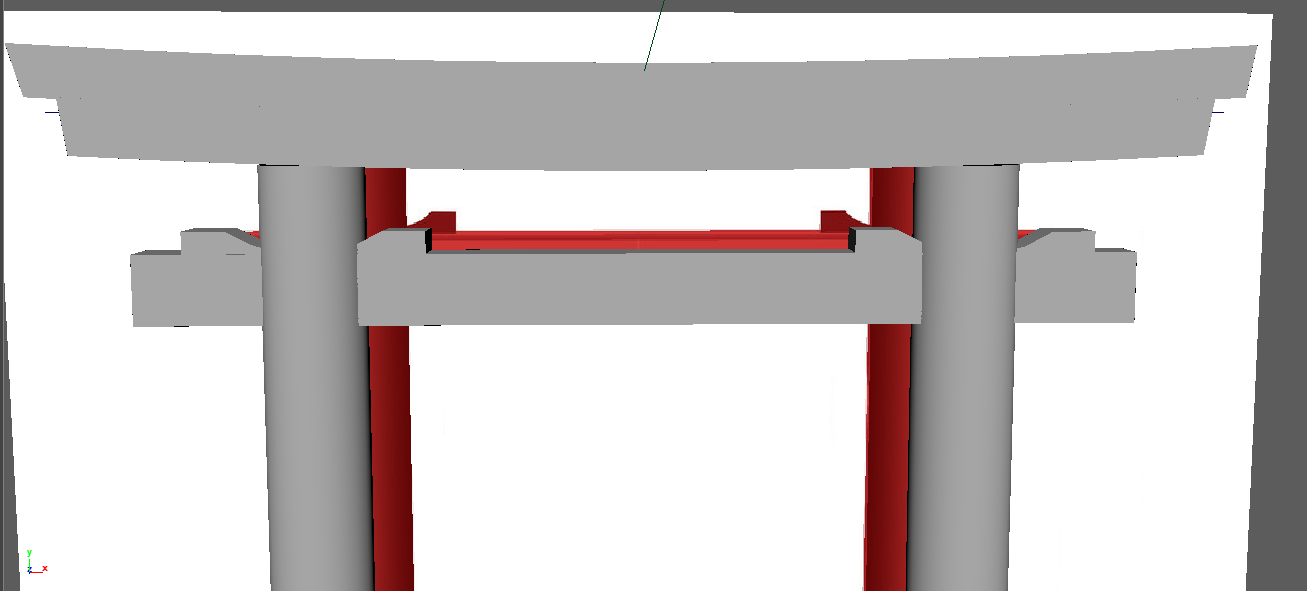
Creating the last part of the asset. I made 2 cubes and put them on top of the pillars. Duplicated one and the new one was put on top. I used "Vertex" to create the little pointy ends of the wood.

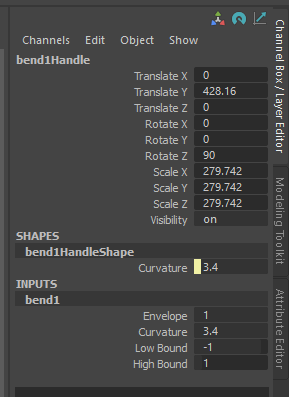
Using the "Deform" tab i added the "bend1Handle" in the hierarchy. I changed the curvature and translate Y. But in order to even add the curvature I needed to add more sections to the wood so that it would be a lot more easier to bend. I've done that by by increasing the Subdivisions Width to 12.
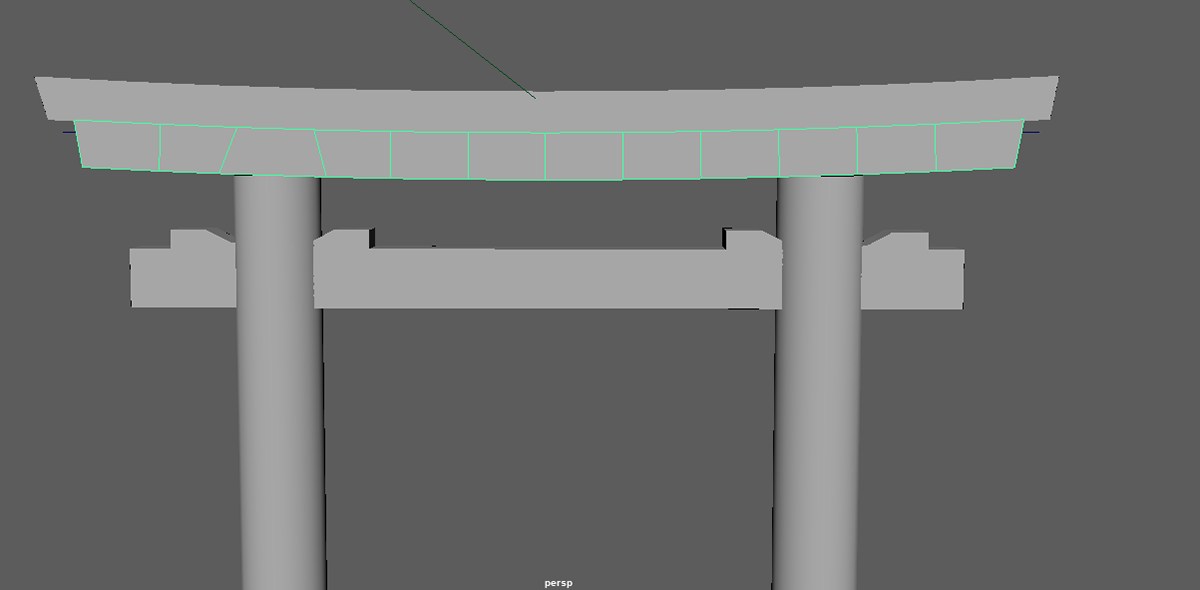
That is the end piece. I have had a couple of problems creating the little blocks of wood and replicating them on the left side, which later was fixed, . But other things were fairly easy and basic knowledge. Doing this took me 6 hours to create because I was working simultaneously on my blog and doing the work. I haven't done an asset in quite a long time so this was a long and tiring road.