Terrain
In this blog page I will be talking about how I approached making my terrain.
I started off by simply adding a refference and baking the pivot point. I put the pivot point in place by using the function "Snap to points". Following this, I moved my refference lower (by 100 on the Y axis) so it perfectly sits on top of the plane.
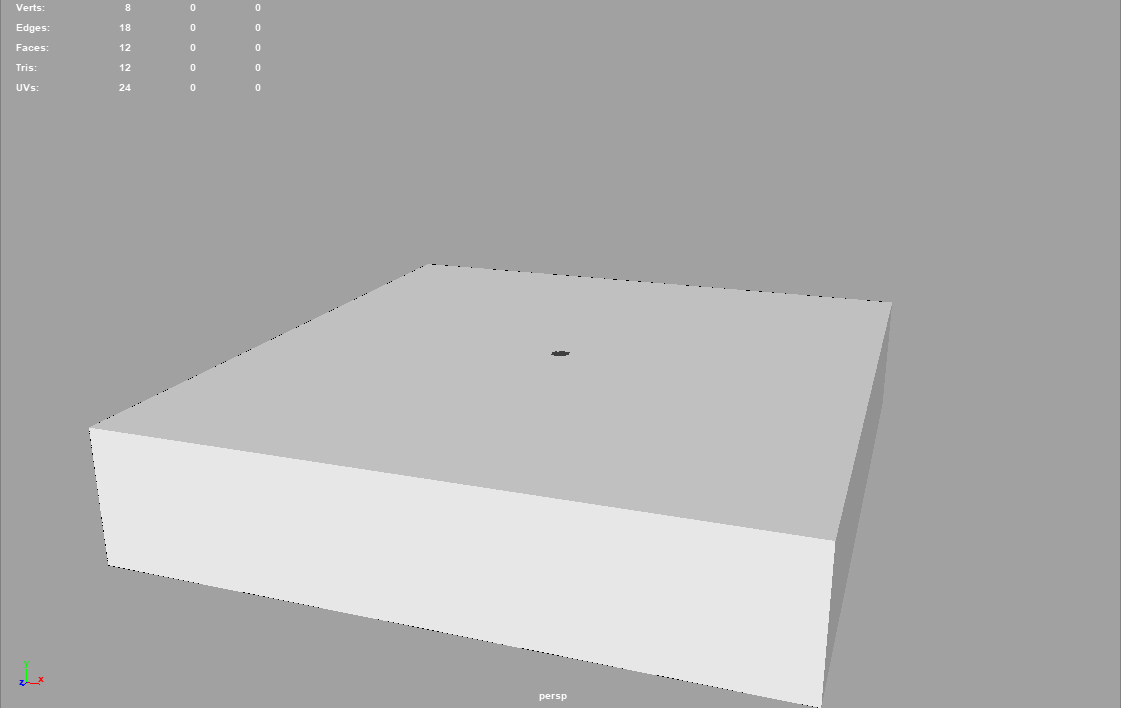
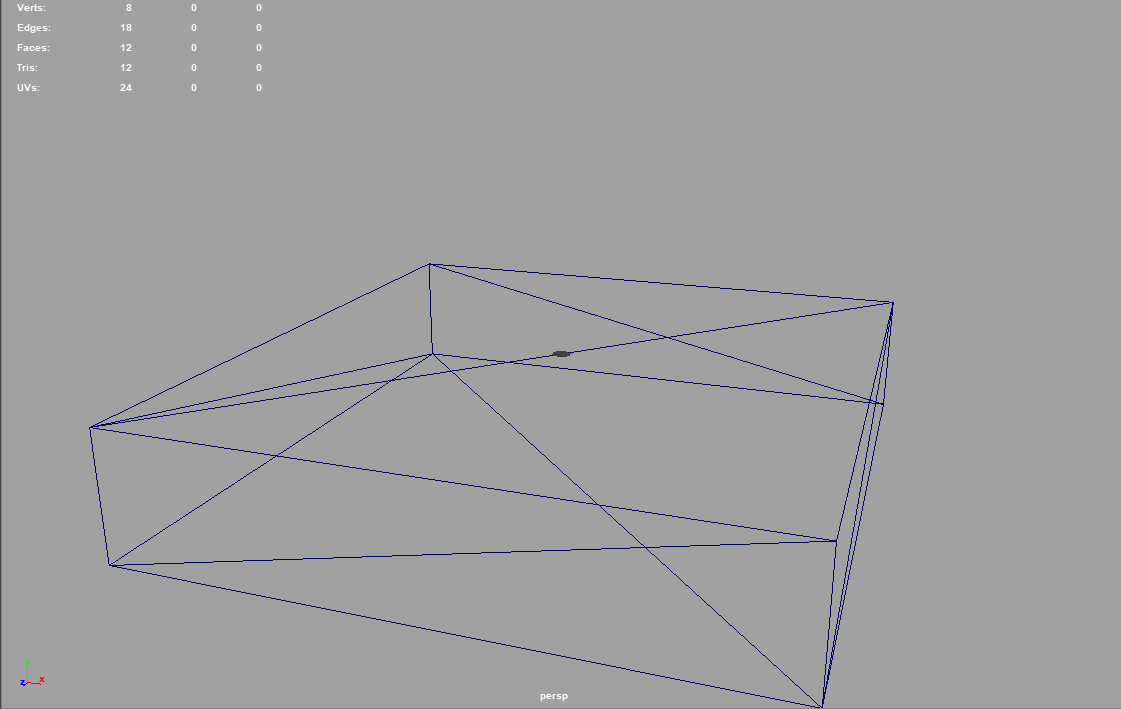
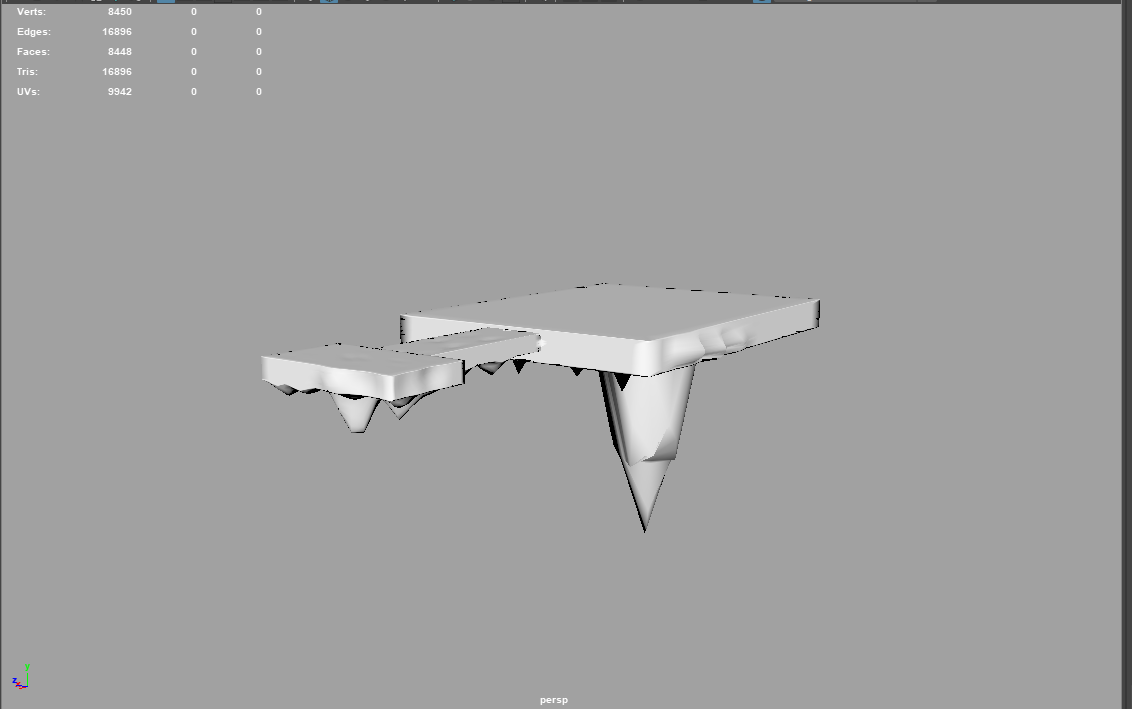
I then made a whole new layer for it to separate it from my own work and make it into a wireframe. I then added a plane on top. I then start pulling in the corners to make it more round in order to actually make the platform I extrude the edges downards. In order to make the top faces be on the bottom too, I select all of them and duplicate them; moving it towards the bottom making sure it perfectly alligns.
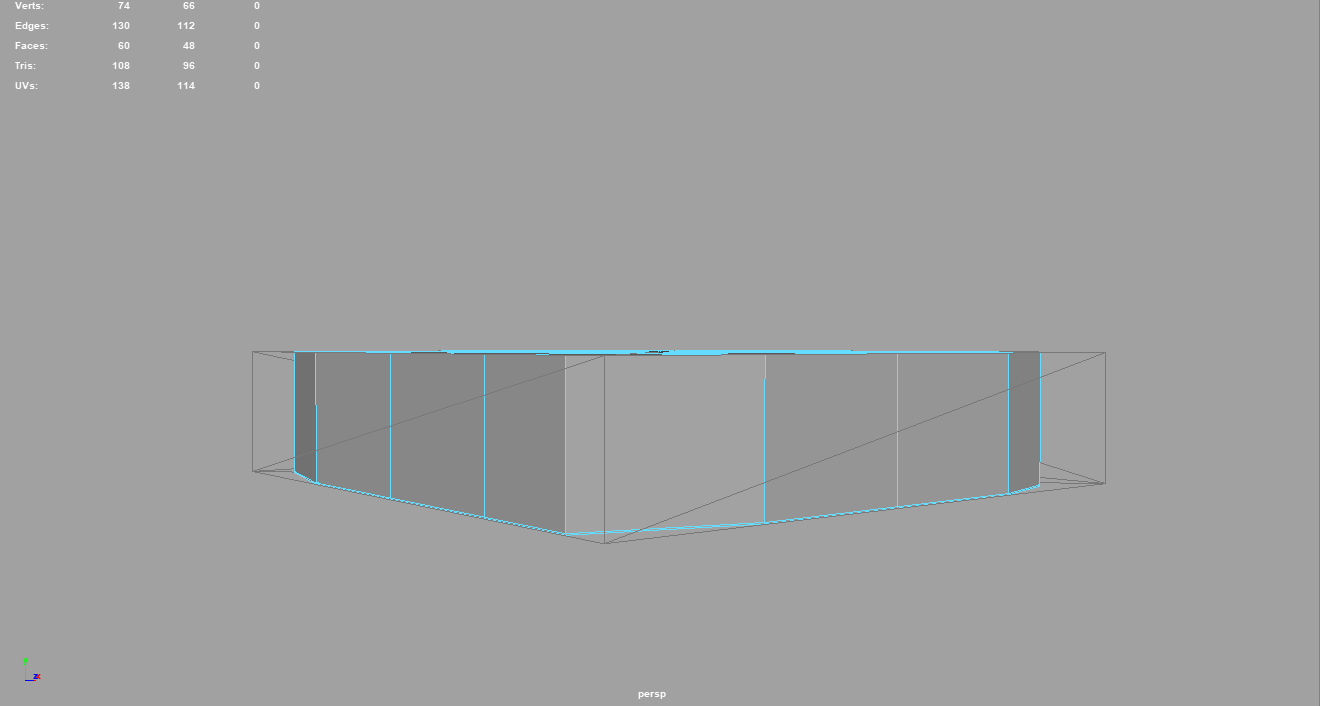
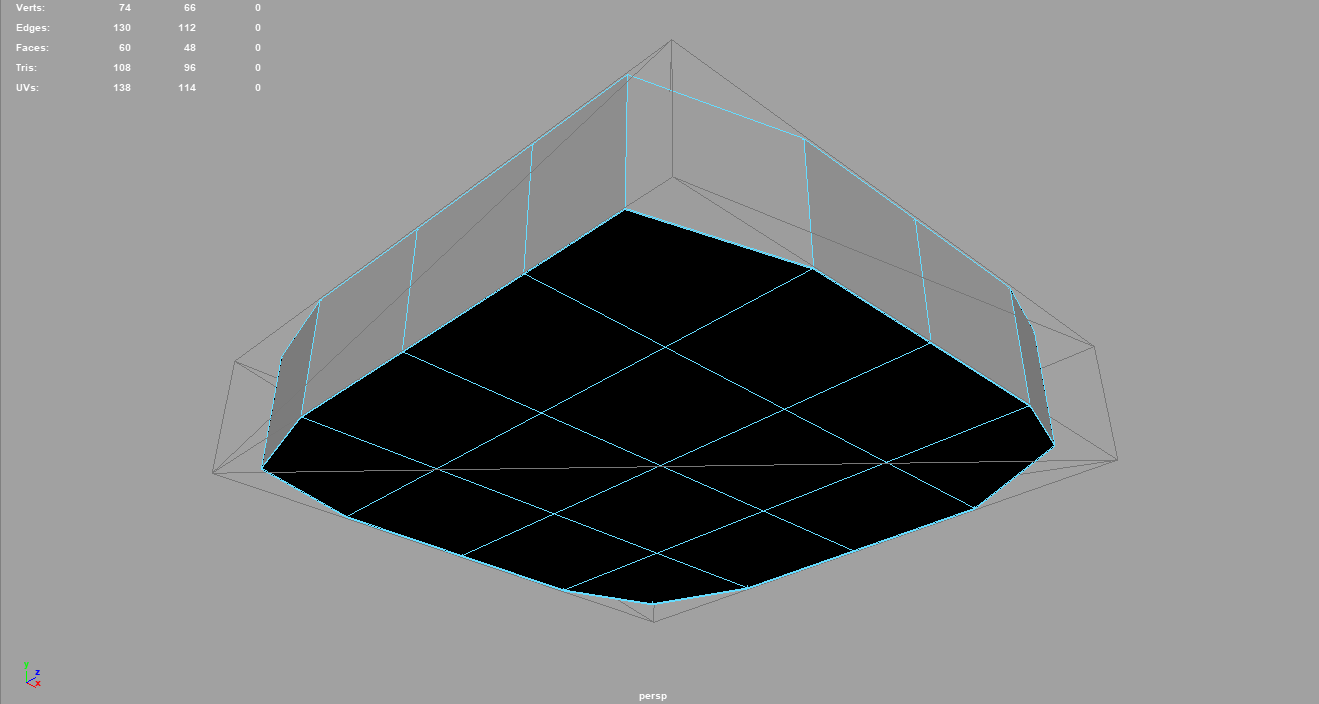
Using "Bevel" I made the top of my platform be a bit more rounded to make it much more of an interesting shape. I then selected every vertex on the bottom of the platform to be able to bring it in; using the rotation tool. I also tried to add a bit more detal using the bevel tool.

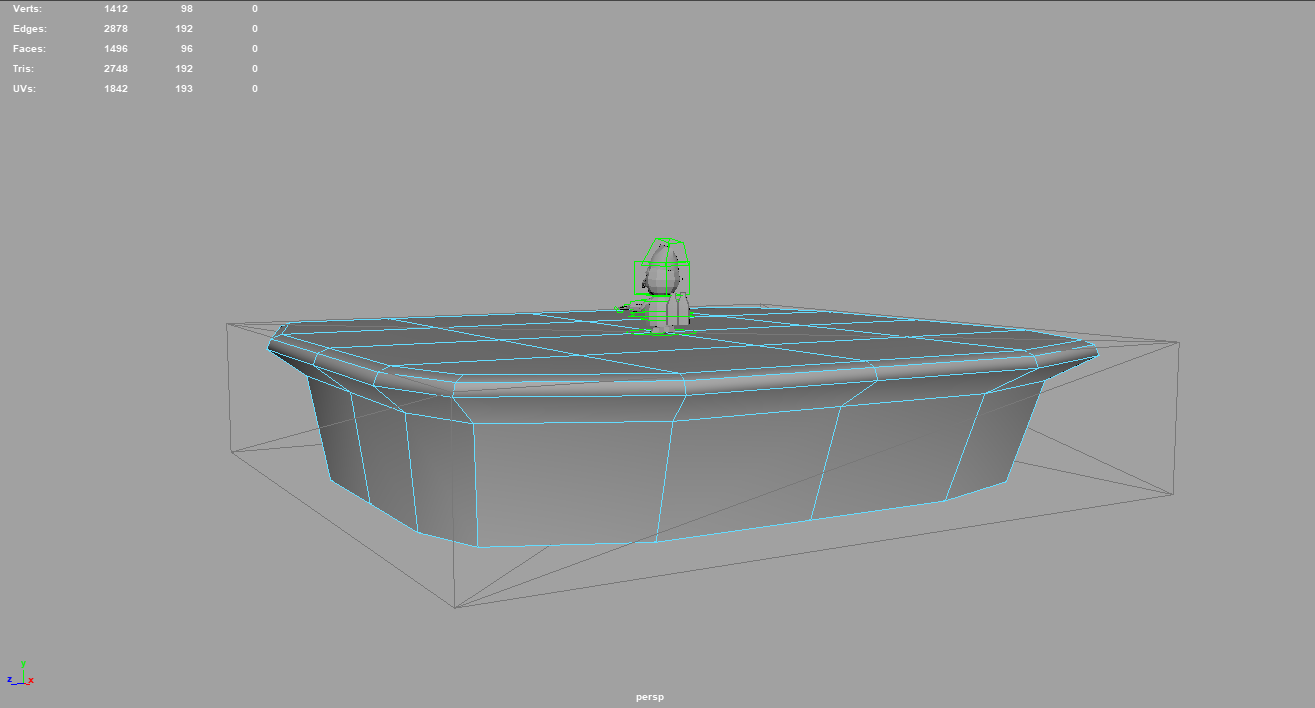
In the end, I ended up playing around with the terrain a little bit and i wanted to give it more of a 3D shape using smooth and adding some more levels. Pushing out and pulling in different areas using a tool. The more realistic it looks, the better since that's what the aim is.
2nd Terrain
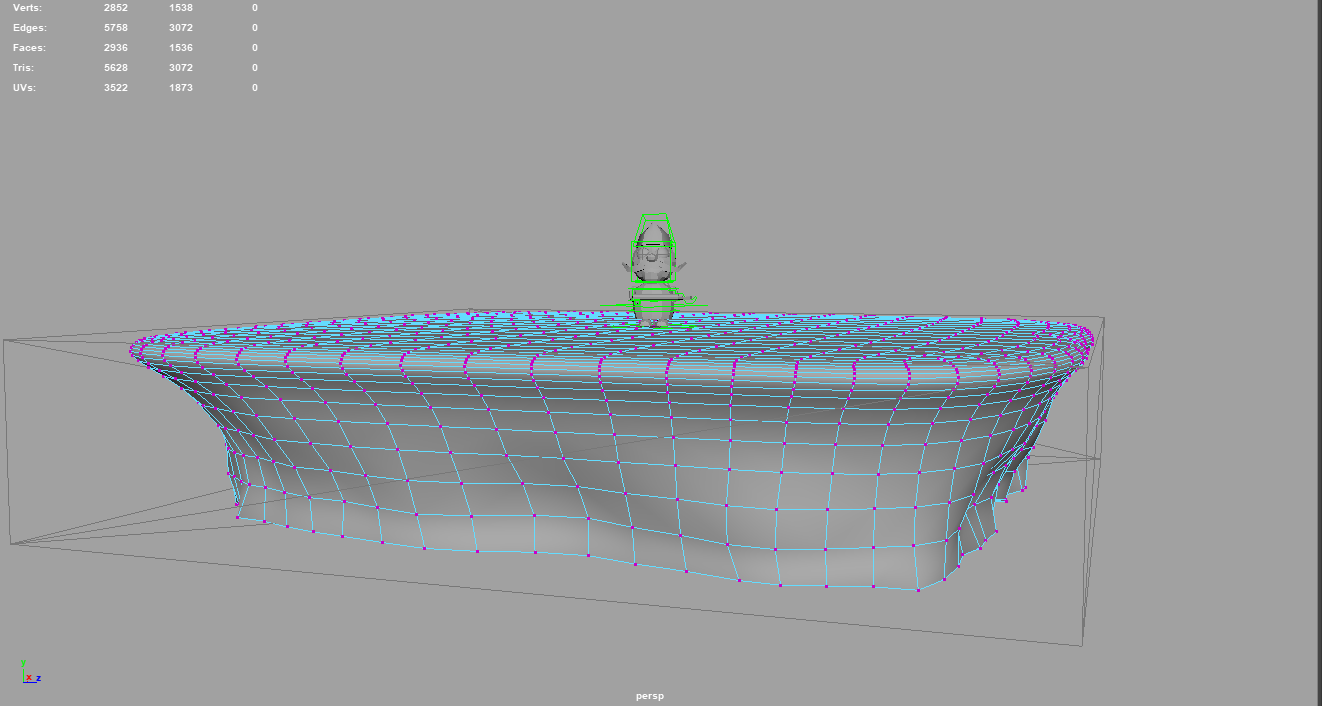
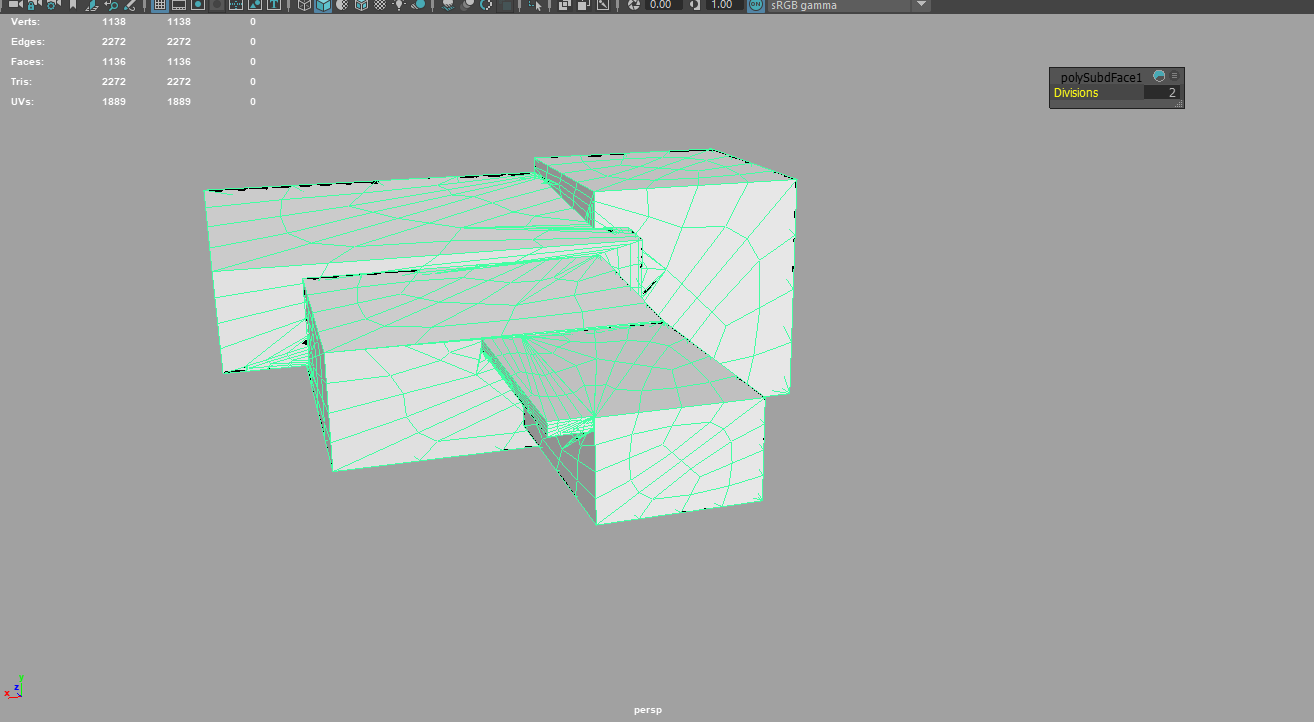
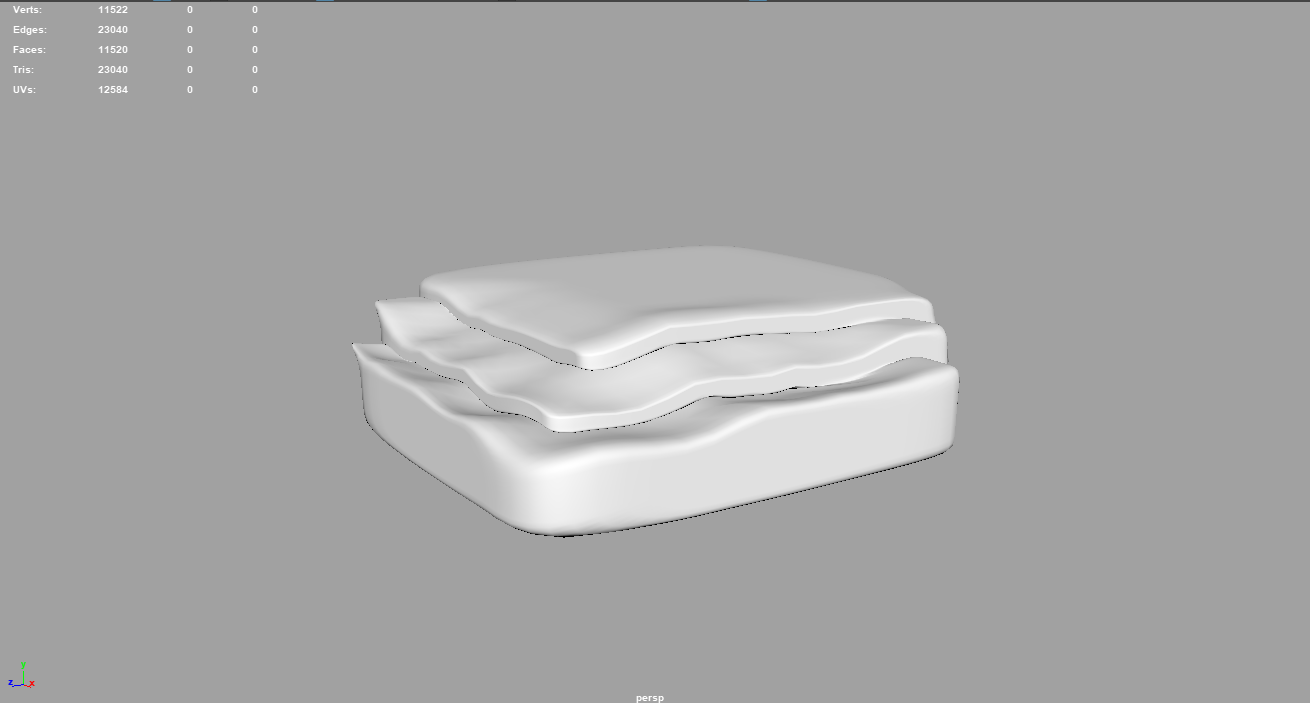
I started off by creating a refference with my terrain and then grouping them together. I connected all of them together which then I added 2 subdivisions. I then smooth it all together and i go to the tool settings to change the falloff radius to: 443.76. This will allow me to freehand the terrain as I please and will save me a lot of time.
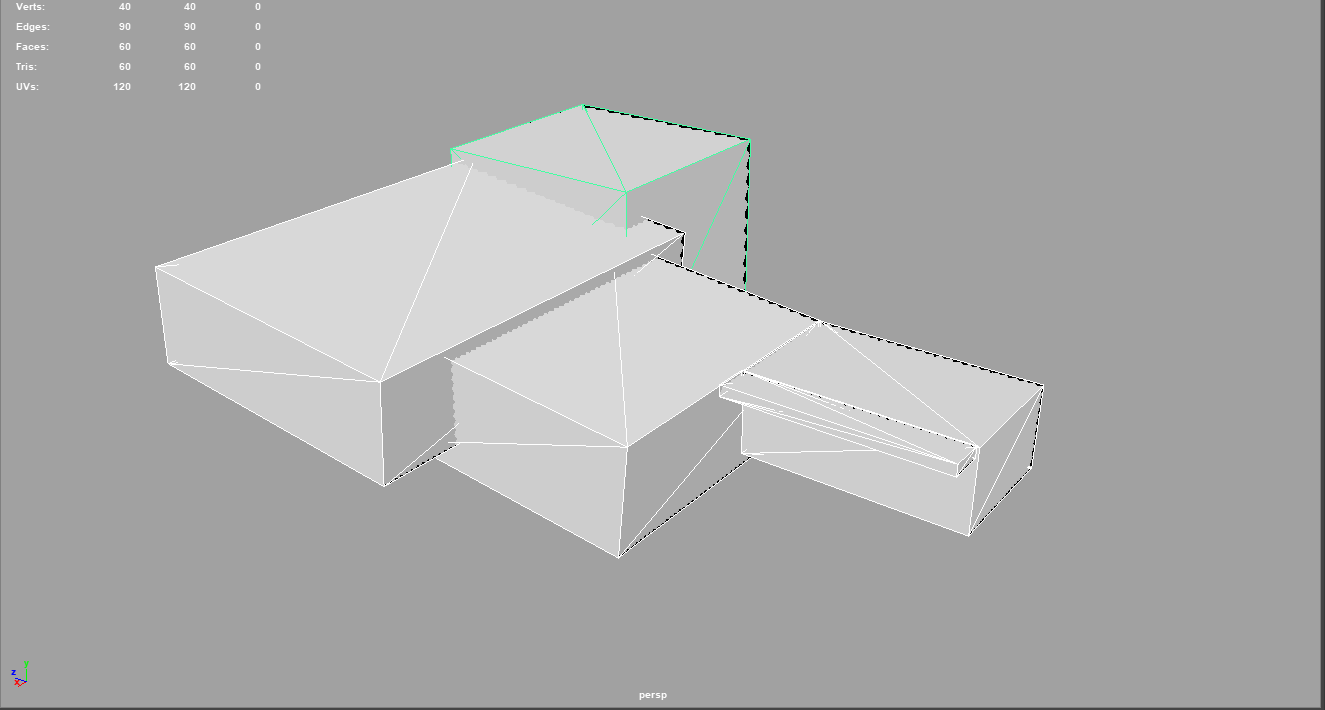

3rd Terrain: Stairs
The process was the exact same as before. I chose to gave my stairs a very worn out look as it is decayed. This will fit in with my theme as
5th Terrain